

I have been posting each time I have added to or amended this blanket, but decided it would be a good idea to have the patterns for the entire thing in one place, for anybody who wants to replicate it.
Just to clarify, although some of the squares have been made specifically to size, this blanket started essentially being sewn together 'test patches' when I was trying out different knitting techniques, so not all of the squares have the ideal tension or size, and it's all a little mish-mash. Also they are mostly used from cheap or scrap acrylic yarns, so you can just use whatever you like to get the look you want.

Each square (or rather rectangle...) is roughly 18cm x 15cm. You can read about blocking to finish the blanket here.

I used 4.25mm needles, cast on 31 stitches, then simply used a staggered knit and purl to create diagonal stripes.
Row 1: *k5, p5* rep * to end
Row 2: p1 *k5, p5* rep * to end
Row 3: p2 *k5, p5* rep * to end
Row 4: p3 *k5, p5* rep * to end
Row 5: p4 *k5, p5* rep * to end
Row 6: *p5, k5* rep * to end
Row 7: k1 *p5, k5* rep * to end
Row 8: k2 *p5, k5* rep * to end
Row 9: k3 *p5, k5* rep * to end
Row 10: k4 *p5, k5* rep * to end
Repeat rows 1-10 until you have reached desired size

I did my usual Pintrest search and found this pattern. The pattern says it's a 12" square, which is too big for my patchwork, so I used 3.5mm needles, left out the moss stitch border and reduced one purl stitch from either side if the cable. After a few rows I measured and it neatly measured 15cm/6" wide. Perfect.
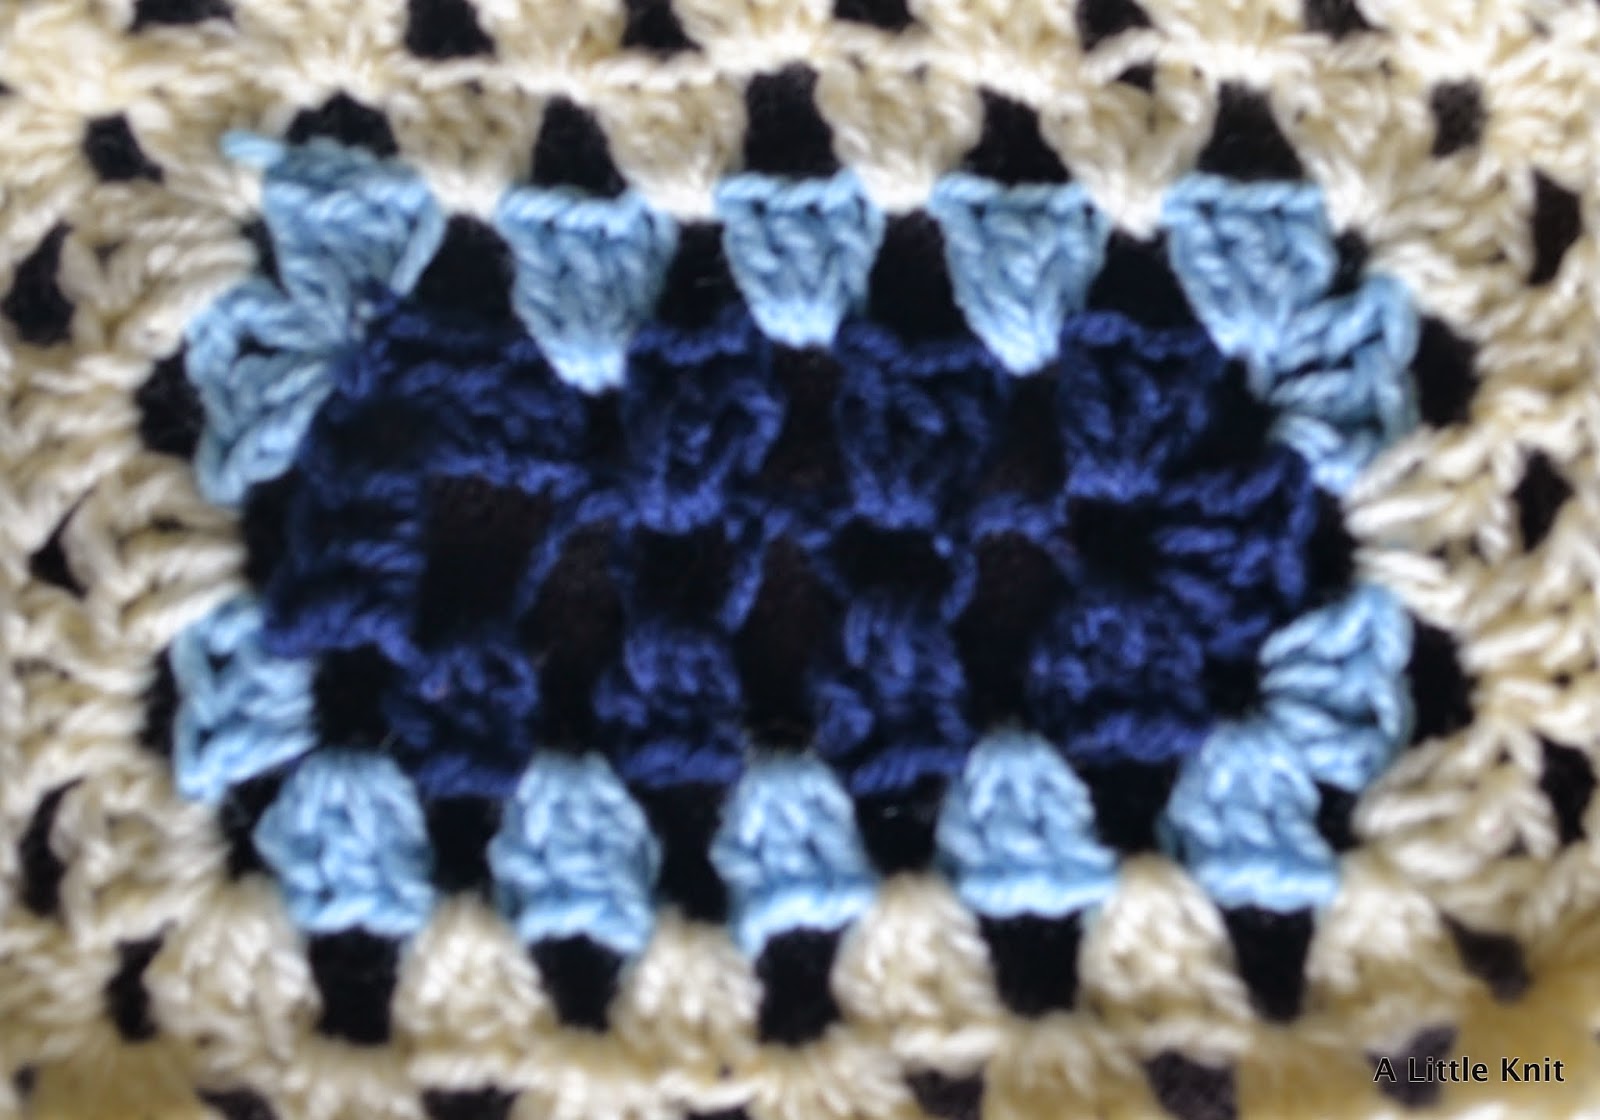
I used this pattern: Rectangle Granny; but also found this YouTube tutorial: Rectangle Granny Method 1 which seems to use the very same pattern.

4. Simple Basketweave
Pattern here
This was pretty easy to follow, alternating between knit 7 purl, and I think it is a very cool look

5. Entrelac
This is a six part video tutorial: Part One - Base Triangles
Part Two - Left Edge Triangle
Part Three - Wrong Side Rectangles
Part Four - Right Edge Rectangles
Part Five - Right Side Rectangles
Part Six - Top Edge Triangles

6. Slip Stitch
Pattern here
The yarn I used was a kind of fine silk texture that kept catching and fraying so it looks a bit messy in places, but otherwise this was a fun and easy pattern to follow

I found this Union Jack Knitting Chart from Let's Knit and used it as a guide to make my patch. The back will end up quite messy, with lots of loose ends to bind off and tidy away. The one tip I would give for intarsia knitting is DO NOT forget to 'twist' the two threads around each other when changing colours or you may be left with a 'split' in the work.

8. Flower Patch
This square was from a Crochet Afghans book so I am not allowed to share the pattern from copyright purposes, however there is plenty of similar patterns on Pintrest you can use. Click Here.

9. Purple Hearts
This pattern was an improvisation; I found this Heart Knitting Chart on Pintrest then repeated the heart pattern six times (two rows of three). To increase the height of the patch (a third row of hearts would have been too tall) I added a few stripes (one row of purple, two rows of cream, repeat three times)

10. Jumbo Cable
Pattern here.
The pattern shows just one cable knit, I just repeated this three times to make the patch.

11. Stripes
This the first ever colour changing knit I tried and was a pattern I just made up; I think I did six rows of white and four rows of pink.

12. Alternating Diagonals
Pattern hereThis pattern was one I had to follow very carefully to get right but its a very cool finish; I love it in green because it looks like leaves

13. Zig Zags
This is another pattern I made up to practice colour changes, but I wanted to make it a bit more complicated than just stripes, so I zig-zagged the colours.

14. Flirtation Cable
Pattern here
The pattern is for the cable itself over 15 stitches, I used size 6 needles, cast on 36 stitches, adding two stitches either end, and two in between the cables, then repeated the pattern 4 times. Here is the amended pattern:
Row 1 (RS): P2 K3, p4, 6-st RC, p4. K3, p4, 6-st RC, p4.
Row 2: K4, p6, k4, p3. K4, p6, k4, p3, k2
Row 3: P2, 5-st LPC, 5-st RPC, 5-st LPC, p2, 5-st LPC, 5-st RPC, 5-st LPC, p2
Rows 4: K2, P3, k4, p6, k4. P3, k4, p6, k4.
Row 5: P4, 6-st LC, p4, k3, P4, 6-st LC, p4, k3, p2
Rows 6: K2, P3, k4, p6, k4. P3, k4, p6, k4.
Row 7: P2, 5-st RPC, 5-st LPC, 5-st RPC, p2, 5-st RPC, 5-st LPC, 5-st RPC, p2
Row 8: K4, p6, k4, p3, K4, p6, k4, p3, k2
Rep rows 1–8.

15. Jumbo Stonckinette

This is a 60c bargain bin yarn, which was supposed to make a scarf, but I used big needles (10mm I think) and just did a Stockinette stitch to make this chunky knit patch
 The pattern I used for the border was again, unfortunately, from the Crochet Afghans book, so I am unable to share, but it is a really simple square which is essentially a different take on a basic granny square (see some instructions I found on Pintrest here).
Each of these little squares measured roughly 7cm, so I'd need 8 squares for each short side and 11 for each long side, then 4 for the corners; 42 squares in total. Once I had all my squares, I simply sewed them to the outside of my blanket.


No comments:
Post a Comment