Thursday 31 July 2014

Baby Beret


This beret (modelled by Doodles the teddy!) was requested by a friend, who gave me the yarn and chose this pattern.

The yarn was a little thicker than the pattern suggested, so I reduced the number of stitches to make the hat the right size. It also meant that the finished hat was a little more 'stiff' as the stitches were quite tight for the yarn thickness.

This was also the first time I have used DPN's (double pointed needles) so it was a fun project to do. I found them a little 'fiddley' and poked myself a few times, but I got the hang of it. 


A nice simple pattern thats great for practising DPNs!

Friday 18 July 2014

Ladybug Toy & Hairband


A good friend of mine had a lady bug themed first birthday party for her baby girl, so I wanted to make a lady bug themed gift.

I couldn't find any ladybug toy patterns that I liked, so I decided to make my own. I already had a pattern to make a large circular shape, so I just used those stitch numbers to plot a grid on excel and create the spotty pattern:


Here is the written pattern I used for the body:

Ladybug body
Using 4.00mm Needles, cast on 12 sts.
Ladybug body1 st row - Inc knitways once in each st to end = 24 sts.
2nd row - Purl.
3rd row - * inc in next st, K1, rep from * to end = 36 sts
4th row - Purl.
5th row - Inc 6 sts, knit row, inc last 6 sts = 48 sts
6th row - Purl.
7th row - Inc 6 sts, knit row, inc last 6 sts - 60 sts
Work 23 rows stocking st, beg with a purl row
Next row - *K2tog*x6 knit row, *k2tog*x6 = 48 sts.
Next row - Purl.Next row - *K2tog*x6 knit row, *k2tog*x6 = 36 sts.Next row - Purl.
Next row - *K2tog*x6 knit row, *k2tog*x6 = 24 sts.Next row - Purl.
Next row - *K2tog*x6 knit row, *k2tog*x6 = 12 sts.

Cut off yarn leaving a long end. Run end through rem sts, draw up tightly and fasten off securely.
Using black yarn here is the pattern for the head:

Ladybug head
CO6
Ladybug headRow1: *K1, Inc 1* Rep * to end (9 Sts)
Row 2: *K2, Inc1* Rep * to end (12 Sts)
Row 3: Rep Row 1 (18 Sts)
Row 4: Rep Row 2 (24 Sts)
Row 5 - 10: Knit Garter Stitch for 13 Rows
Row 11: *K2, K2tog* Rep * to end (18 Sts)
Row 12: *K1, K2tog* Rep * to end (12 Sts)
Row 13: Rep Row 11 (9 Sts)
Row 14: Rep Row 12 (6 Sts)


I used a colour changed to incorporate eyes, which you can do using the same method or sew these on after with some white thread. I attached the head to the body, but left a little opening to stuff in some polyester filling before finishing it off.


HeadbandFor the headband, I had this cute summertime headband pattern pinned on pintrest for a while so decided to adapt it slightly to fit a one year olds head; I simply cast on 9 instead of 18 and knitted until I got to 14 inches. It's a really pretty knit and I was happy with how it turned out.

Small Ladybug 
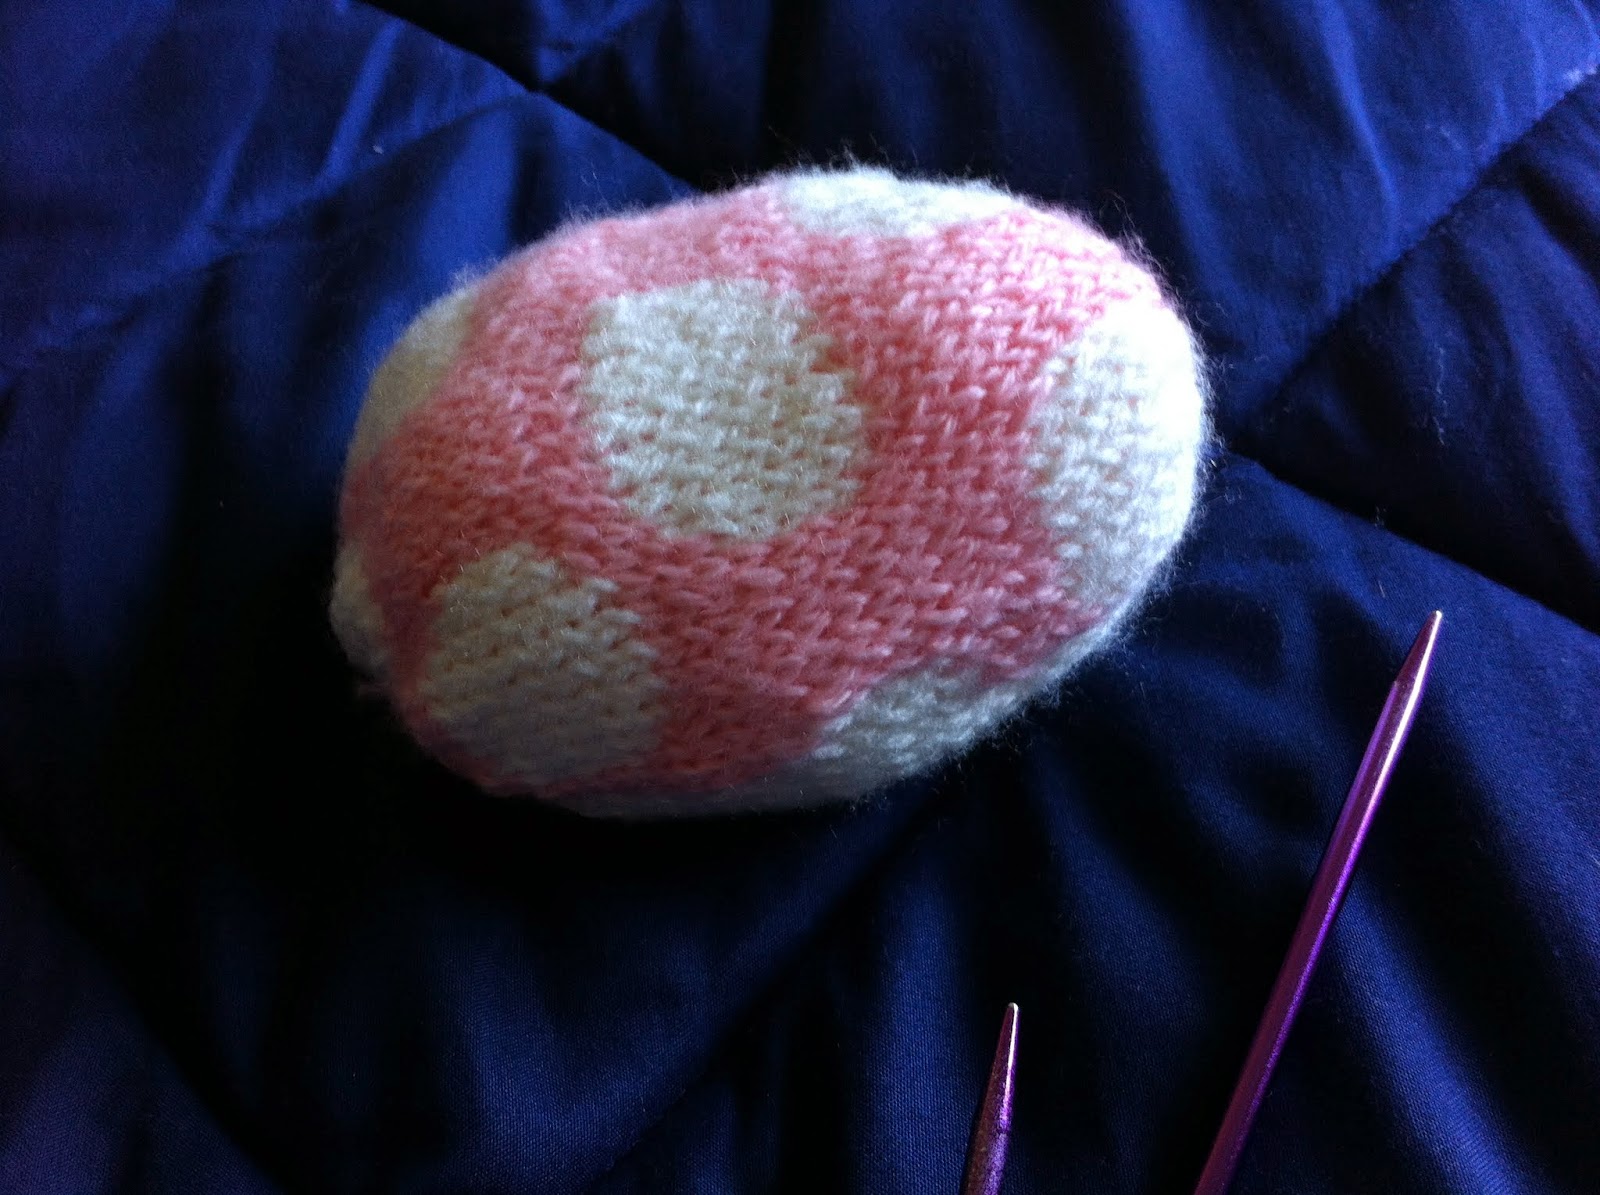
To make the small ladybug that went on the headband I used a pink yarn and made a small ball; unfortunately I can't remember the exact number of stitches I used a similar pattern that I did for the caterpillar body, only fewer stitches. I stuffed the ladybug with polyester filling, then used black yarn to sew on a face, and white yarn to do the spots and eyes. Once I had finished I attached the small ladybug to the headband!

Sunday 6 July 2014

Personalised Love Hearts


I found this great free love heart pattern by Amanda Berry, whose patterns have been published in Let's Get Crafting and Let's Knit magazine, so I knew it would be a good one!

I decided to knit some for my mum & dad in-law's wedding anniversary. I wanted to go one step further, and personalise the hearts. I plotted their initials and a love heart shape into Excel, and used this grid for the cnetre section of the heart.  Pleas be aware that when using intarsia knit on a pattern that
is supposed to be just one colour,  you lose some of the 'stretch' in the peice which in this case can slightly alter the shape of the heart (most obviously the middle one). I joined the three together with a single peice of yarn running through the middle.

Friday 4 July 2014

A Nappy Pouch


I had a baby shower to go to, and wanted to knit a present, but without knowing the gender of the baby, didn't know what I could make. I could only come up with neutral coloured hats, boots, blanket etc, so turned to a mummy friend of mine to ask for advice. She came up with a great idea of making a little pouch for nappies and wipes that you can easily grab out of your bag.  As my first project since my poncho, this was really quick and easy so I really enjoyed making it.

The yarn I chose was leftover from the hat I made previously, I liked it because it was gender neutral without being bland. I used 10mm needles as it was quite a chunky yarn and simply knitted (stocking stitch) until I had the width I desired (I think this was about 35 stitches).

I made two peices the same width; the first I knitted to the length I wanted the pouch and a second I knitted a few inches longer so it could fold over.

Simply sew the two peices together at the sides and base, then to finish I simply added two buttons to secure the flap. I filled the pouch with some new born nappies and travel wipes, and that was it! 

There was no specific pattern here, just getting creative with a very basic knitting.